How to Make Saltwater for an Aquarium: 9 Easy Steps

Updated on

A saltwater tank is a fun way to learn more about marine life, as it can have species that many only see at zoos or public aquariums. Treating the water replicates the habitat that these fish and aquatic organisms need to survive. It also adds another water chemistry test and another parameter to monitor.
It’s even more critical because seawater doesn’t fluctuate much, leaving any saltwater aquatic life unable to adapt to changes in a tank. Many natural bodies of water are massive compared to freshwater sources. These volumes act as a buffer to keep the conditions stable. This fact should influence every maintenance decision that you make for your tank.
Fortunately, mixing up a batch of saltwater is an easy task that doesn’t involve much work or special equipment. Once you’ve been through the process once, you can streamline it to finish it in no time.

What Does Salt Do?
Salt has other effects beyond creating a saline environment. It can also reduce the concentration of dissolved oxygen in your tank. It’s merely a matter of salt molecules taking up some of the space that oxygen could occupy. That makes aeration and surface agitation critical.
Salt also affects the pH by raising it to alkaline levels. That’s a good thing because most species prefer these conditions. It also cuts down on the maintenance that you have to do with this parameter. Making saltwater is only necessary when doing your routine water changes. Otherwise, you can top off the tank using distilled or RO water.
What You’re Going to Need
We suggest having dedicated supplies for your aquarium instead of raiding the kitchen. That way, you can control how they’re used. Salt doesn’t evaporate, so you’ll likely find that you won’t have to follow these steps often. The supplies that you’ll need include:
- Food-grade bucket
- Sea salt mix
- Measuring cup
- Hydrometer
- An air pump or powerhead
- Thermometer
- Heater
- Gloves
- Plate
1. Do Your Homework.
Your first step must involve learning the salinity that your fish prefer. Some species may fare best at different levels, so it behooves you to know what range you should target. Bear in mind that fish vary in their tolerance. A salinity level between 1.019-1.023 is ideal for a tank with fish only. If you have a reef tank with corals, bump it to between 1.023-1.025.
2. Test Your Water.
The vital parameters are salinity, pH, specific gravity, and carbonate. They are all interrelated, so it makes sense to have a complete handle on the conditions. Test strips don’t have a long shelf life, so it’s better to buy boxes with fewer strips than ones that contain more than you can use in a reasonable amount of time.
This step also gives you a baseline. It can help you gauge what changes you need to make in the future to create the optimal conditions for your tank. We suggest that you keep a journal to monitor your aquarium’s water chemistry so you can make informed decisions.
3. Rinse Out the Bucket.
We recommend using a food-grade bucket that won’t contaminate the water. Do not use a garbage bag to line it. Sometimes, chemicals can leach from the plastic, especially with scented products. It’s also easier to pour the water into your tank without the bag getting in the way.
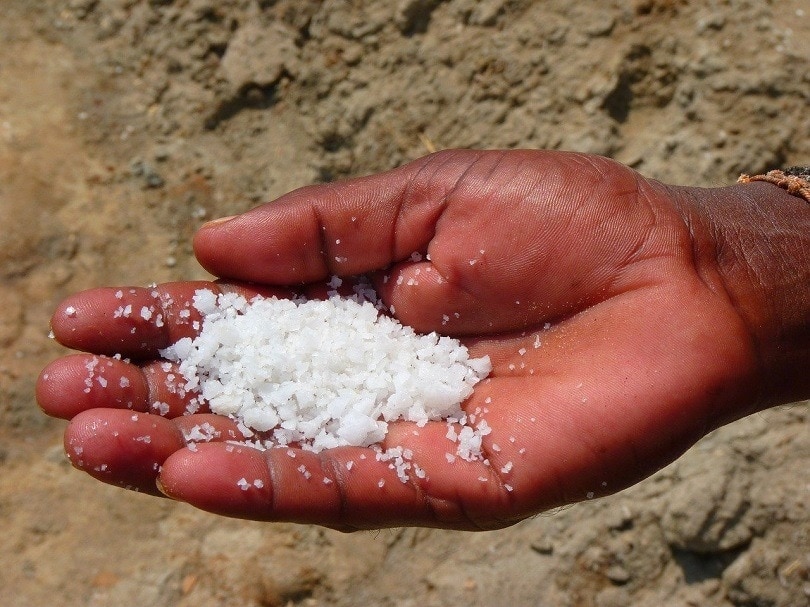
4. Add Salt to the Bucket.
Follow the directions on the salt bag to prepare the correct concentration. Typically, it is ½ cup per gallon of water. We suggest wearing gloves when handling the salt to avoid drying out or irritating your skin.
5. Measure Out the Water.
The conditions that you’re aiming for are precise. It’s essential to mix the salt and water in the correct proportions. If your bucket isn’t marked, you may find it helpful to use a permanent marker to put a line at the gallon level. You should use warm but not hot water. Cold temps will take longer to heat. High temps could cause calcium carbonate to form.
6. Check the Temperature of the Water.
Ideally, the water is between 65-70℉. If the water is too cool, add a heater mounted on the side of the bucket to warm the water. You’ll also find that it will speed up the salt mix dissolving into the water.
7. Check the Salinity of the Water.
Salinity or specific gravity is a vital parameter in a saltwater tank. You can use a hydrometer to verify that it’s at the right concentration. Adjust it with extra water or salt as necessary to get within the recommended range.
8. Run an Air Pump or Powerhead in the Bucket.
Like warmer temperatures, aerating the water with an air pump or powerhead will help the salt dissolve quickly. Make sure that it is completely dissolved and that the water is clear before adding it to your aquarium. Check the salinity of the water again.
9. Add the Water to Your Tank.
You’ll find that putting an upside-down plate on the bottom of your tank will dissipate the force of the water, making it less likely to disrupt your aquarium’s décor. Make sure to rinse everything you use with clean tap water to prevent salt deposits.

Final Thoughts
Making saltwater isn’t difficult. However, it’s a necessary task when it comes to doing regular water changes. The key is patience. Don’t rush the process. Give the salt time to dissolve using the tips that we’ve provided. You’ll find that it’s a quicker and easier process than you thought.
See also:
- How to Raise KH in an Aquarium – Complete & Easy Guide
- How to Raise Alkalinity in a Freshwater Aquarium (Quick & Easy)
Featured Image Credit: sebastianpictures, Shutterstock